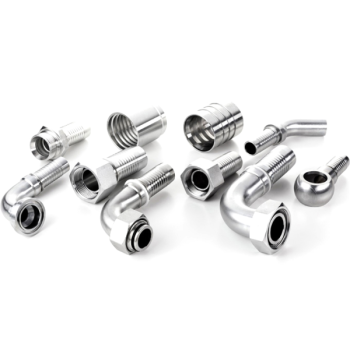
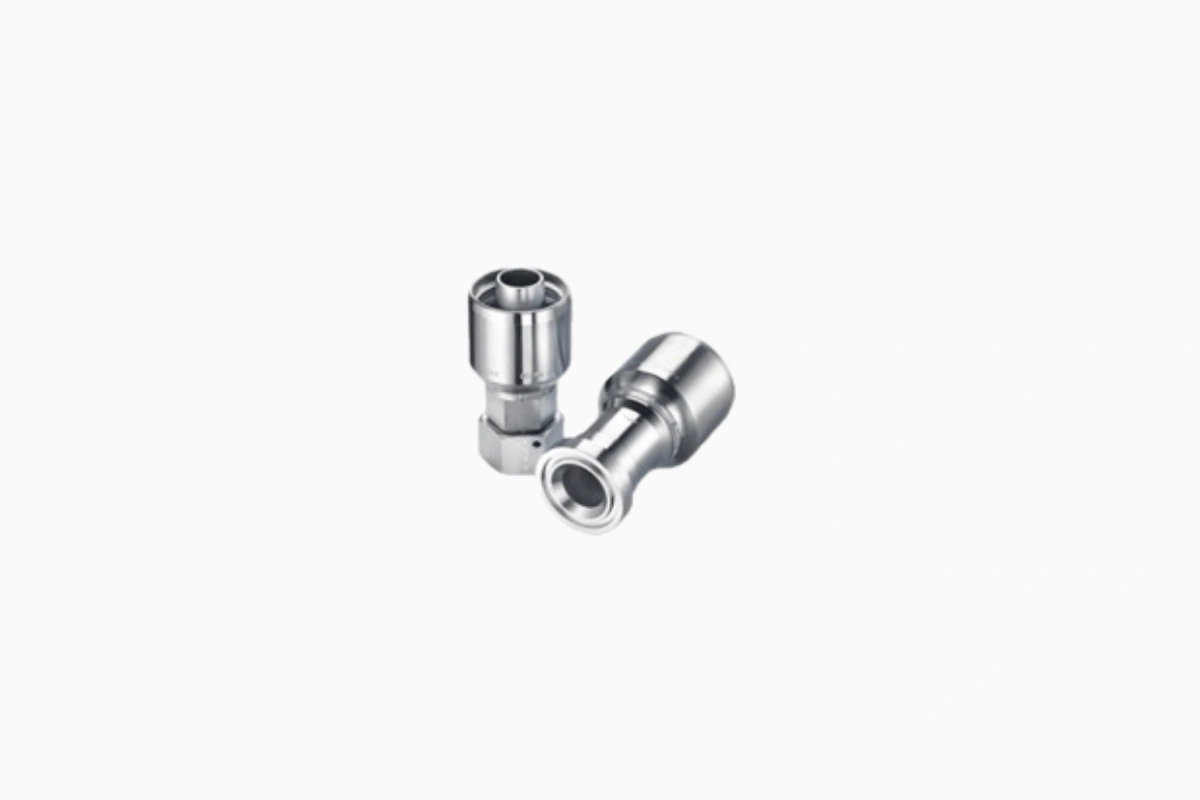
The installation of hydraulic fittings is an essential process to ensure the proper functioning and safety of hydraulic systems. Correct installation not only guarantees fluid sealing and pressure resistance but also prevents potential leaks that could compromise the system’s efficiency and safety. Let’s take a step-by-step look at how hydraulic fittings are installed.
Preparation and Selection of Hydraulic Fittings
The first step in correctly installing hydraulic fittings involves preparation and the selection of the most suitable components. To begin, it is crucial to identify the type of fitting needed for the specific application. There are different types of fittings, including threaded fittings, compression fittings, and quick-connect fittings, each with specific characteristics.
Before proceeding with installation, it’s advisable to check compatibility between the fitting and the selected hydraulic hose. Some materials may chemically react with the fluid used, causing corrosion over time. Additionally, the fitting size must be chosen based on the pressure and flow requirements of the system. You can find a full selection of fittings suitable for various applications in the hydraulic fittings section of LubeTeam.

Installation Procedure: Cleaning and Assembly
Once the fittings are selected, cleaning the contact surfaces is a crucial step to ensure sealing. Every part that will be assembled should be thoroughly cleaned to remove impurities, dust, or residues that might compromise installation quality. Installing on an unclean surface could create small gaps between the fitting and the hose, leading to fluid leaks or reducing the fitting’s lifespan.
For assembly, it’s recommended to use appropriate tools, such as torque wrenches, which allow for the correct tightening torque, avoiding both insufficient and excessive tightening. Some hydraulic fittings require pre-assembly: this means the fitting should be hand-tightened until positioned, and then final tightening is done with the appropriate tool.
During assembly, it’s recommended to use specific lubricant for hydraulic fittings on threads or o-rings, where necessary, to facilitate assembly and reduce wear over time. The lubricant should be chosen based on the hydraulic fluid used, as some lubricants may not be compatible with mineral or synthetic oils.
Testing and Verifying the Installation
After installing the hydraulic fittings, it’s essential to perform a seal check and verify proper installation. Once the system is complete, it’s helpful to apply a test pressure higher than the operating pressure to ensure there are no leaks. This test allows you to check if the fittings have been correctly tightened and if there are no defects in the installation.
Some systems may require a visual check using colored fluids, while others use sensors to monitor potential leaks. This type of check ensures the system is fully operational and safe before being put into service. Additionally, in case of leaks, you can directly address the fitting to restore the seal.
Another check to consider is the stability of fittings during operation. In environments subject to vibrations, such as industrial machinery, it may be useful to periodically inspect the tightness and condition of the fittings to avoid leaks or failures. Over time, even the best hydraulic fittings may require periodic maintenance to ensure long-lasting efficiency and optimal performance.

